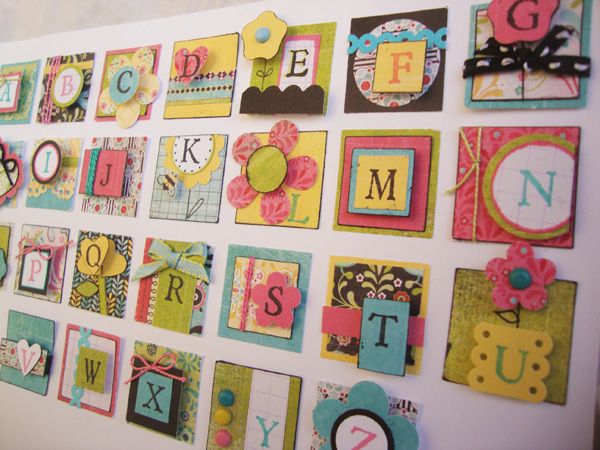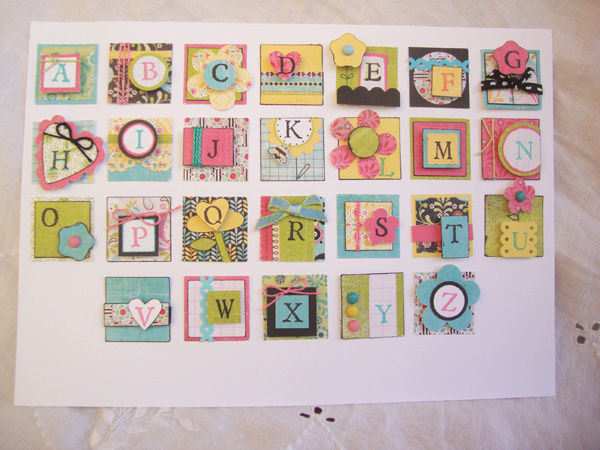
Last week I got a box of artwork that I had done ages ago, and I found this cute Inchies Alphabet. I remember doing them, but it was so long ago that I had forgotten about the whole process of making individual square inch pieces of art. It was so fun that I did three sets at the same time…one for me and two for someone else. My friend was working on three sets at the same time as well, but…she didn’t get hers done, so I’m holding hers hostage…for several years now! So here it is, almost Valentine’s Day and I think Valentine Inchies are a good project…for tomorrow! So for now, I’m sharing the “old” project!

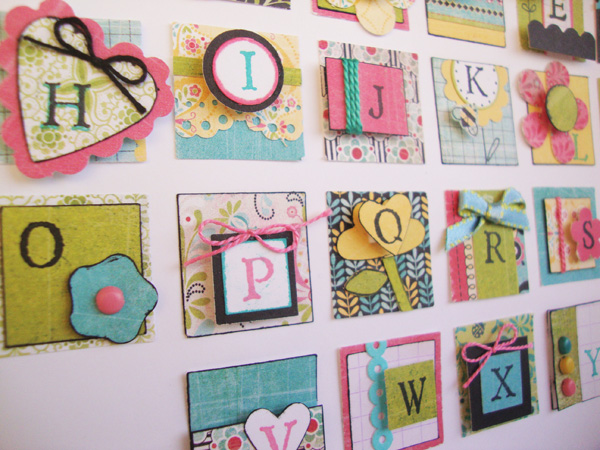
The tiniest “twine” is Perle Coton from DMC…have I ever mentioned how much I love that floss? Inking the edges adds a little extra definition. I also used some Paper Frills from Doodlebug Design. Punching the edges of the paper is an easy way to embellish it even better.

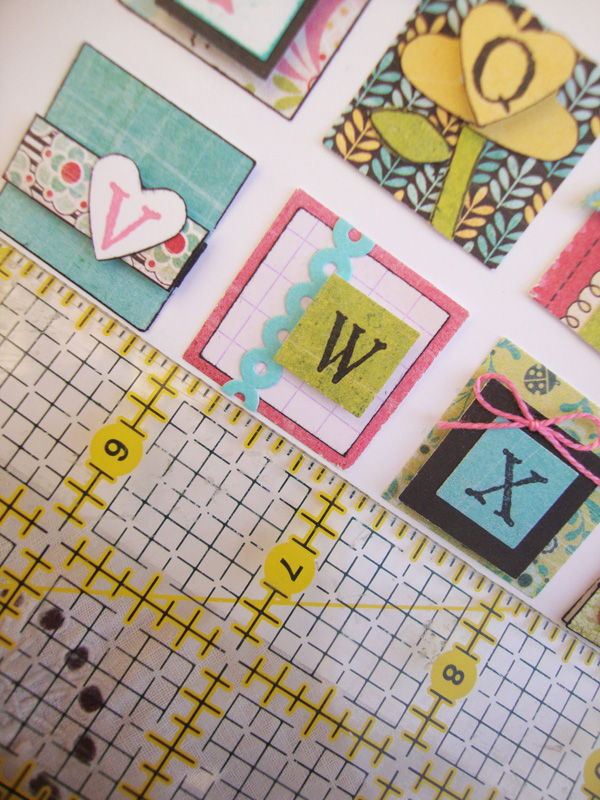
See? They really are just an inch in size! It’s so great because there isn’t a lot of commitment. The reason that I did three was because it really didn’t take much more time. The time consuming part is the design.

There really isn’t a definitive process – it’s just a matter of starting with the 1″ base square and make layers. It helps to use a 6″ X 6″ Mini-Pad – this one is from Basic Grey (forever ago) called Urban Prairie. I still just adore that line! My small Paper Shapers are the perfect size to add small shapes, like hearts and flowers .
Oh…and before I forget, I need to announce the winner of the twine giveaway – Congratulations to Lyndsay B! Leave me a comment with your address (I won’t post the comment), and I will get that out to you tomorrow!
So until tomorrow, here’s to sweet dreams of Valentine Inchies!
The post Inch By Inch appeared first on just helen.


